
Classroom Button Panel
Almost all teaching spaces in the University have access to AV. There are two types of AV systems – touch panel control, and three types of button panel control. These guides are designed to help you make best use of the facilities
Turning the AV On or Off
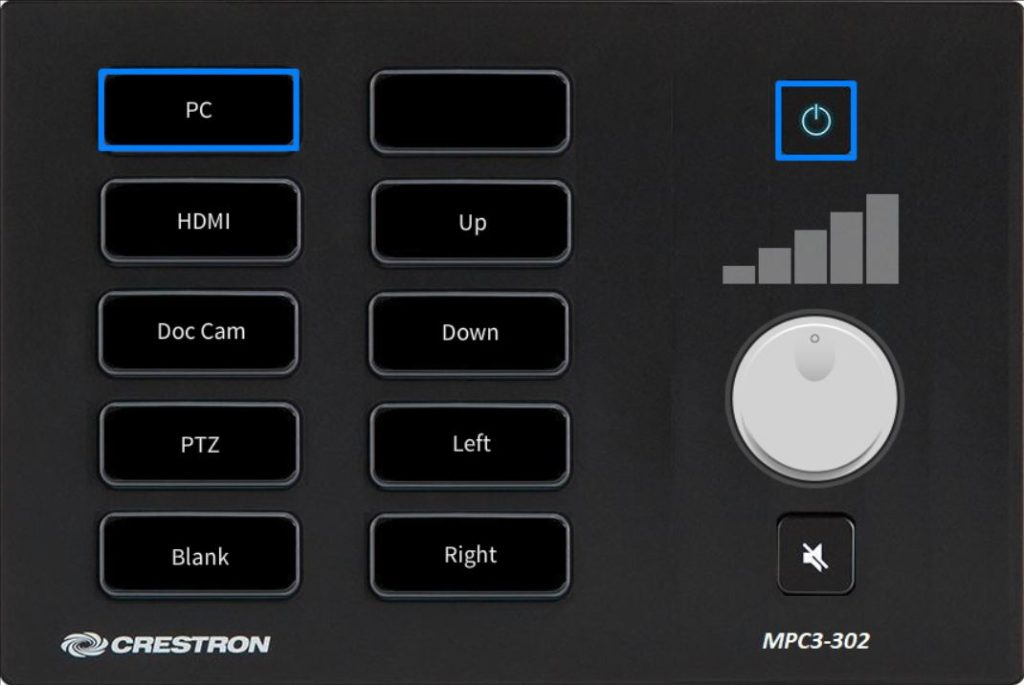
To turn the AV ON or OFF, press the Power Button highlighted above. The button will flash and turn blue when the AV is ready to use, the current selected input will have a blue outline around it. Select PC to use the AV lectern PC. Log into the PC as normal using your DMU username and password.
Using a Laptop/BYOD
It is possible to either use the PC provided or any device that uses a HDMI cable to connect to the AV system.
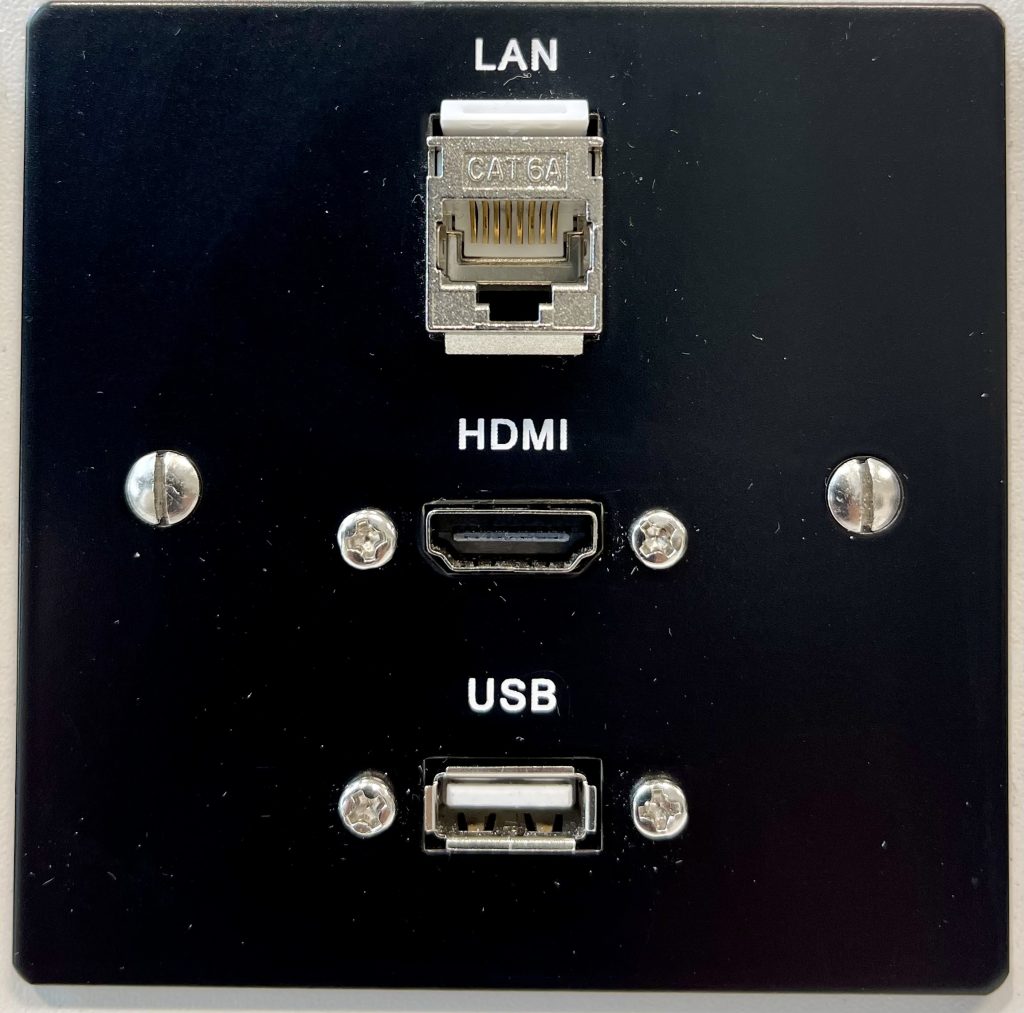
HDMI (Any device that uses a HDMI cable)
Plug a network cable into the LAN socket provided (DMU Laptops Only) if required.
Log into your device as normal.
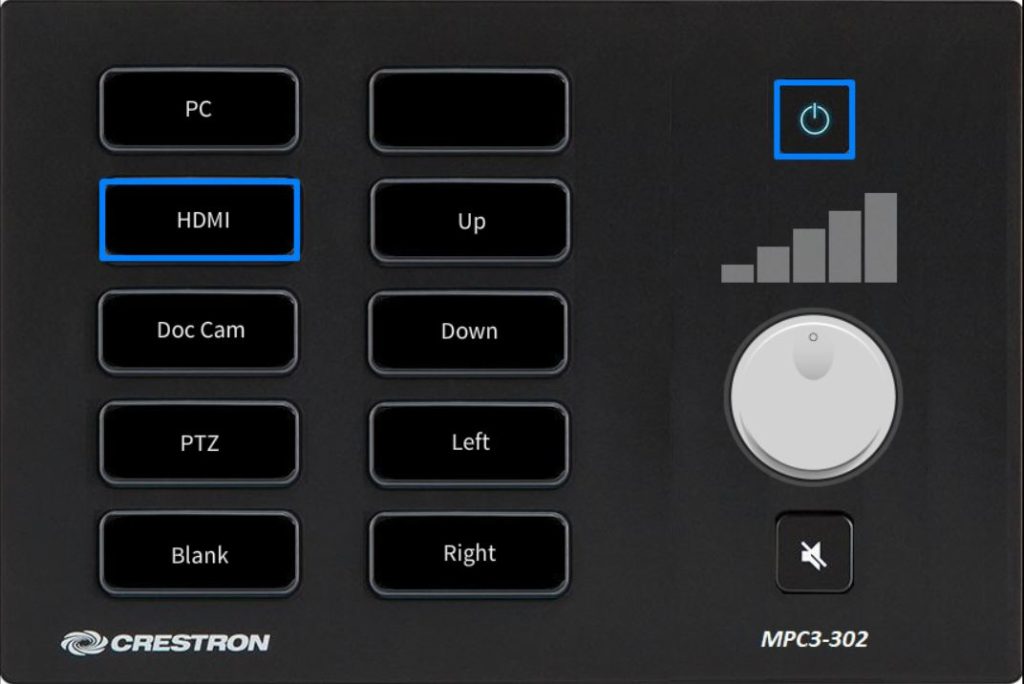
Select HDMI
Plug your HDMI cable (these are not supplied) into the HDMI socket next to the control panel.
Blanking a Projected Image
This facility allows you to BLANK off the Projection/SMART Interactive Screen so that the audience cannot see any content.
Select BLANK
To bring the screen back select BLANK again
Using the Document Camera
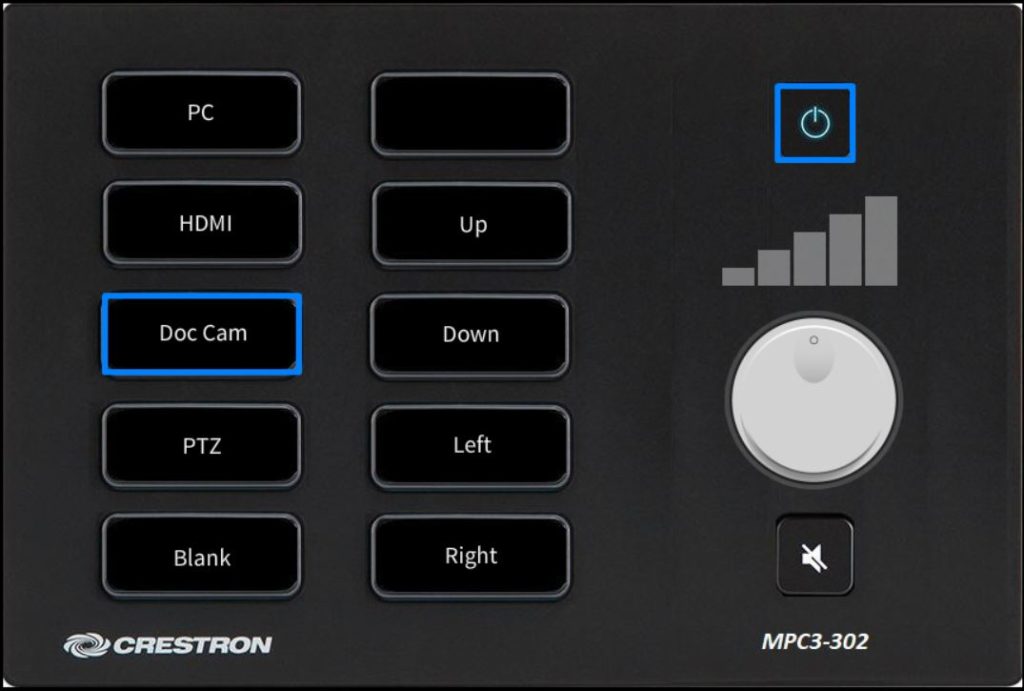
Document Camera/Doc Cam – This facility allows you to project paper documents onto the screen.
Select DOC CAM
The projector will now display anything that is placed under the Wolfvision Visualiser camera.
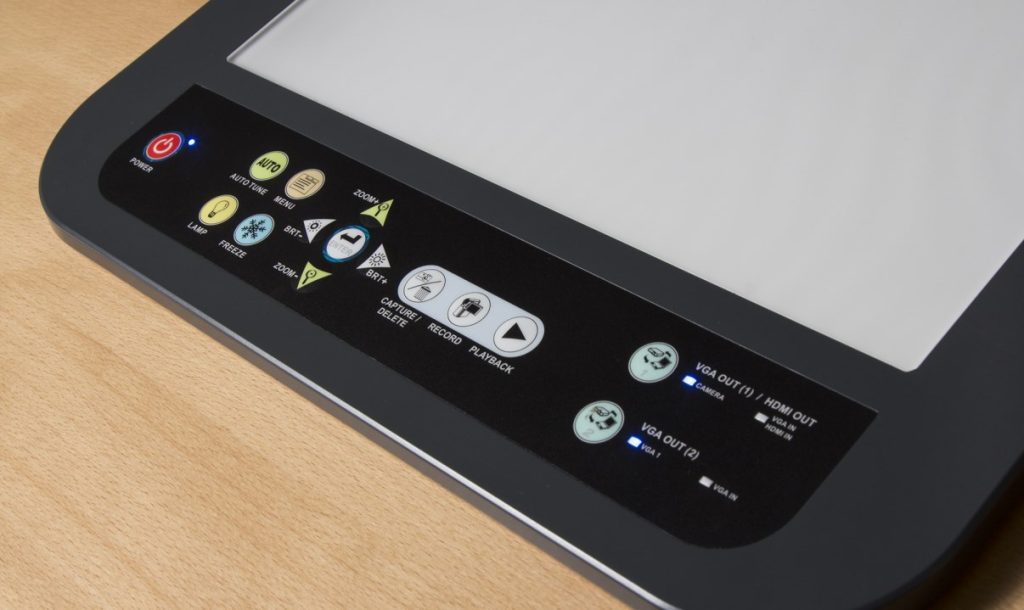
All the controls for the doc camera can be accessed on the doc camera panel.

Please Note there is different model of document camera (Lumens PS751) in HB0.11/.12
If you are experiencing problems with the AV equipment ring the ITMS Service Desk on ext. 6050.